Linux_C Language_SDK_Modbus onboard serial port and three-in-one serial port tutorial
Linux_C Language_SDK_Modbus onboard serial port and three-in-one serial port tutorial
Applicable Model
https://github.com/WITMOTION/WitStandardModbus_WT901C485
Install the wiringpi library
Update software repository
sudo apt-get update sudo apt-get upgrade
Install the wiringpi library
sudo apt-get install wiringpi If the installation is unsuccessful, switch the mirror source。 cd /tmp wget https://project-downloads.drogon.net/wiringpi-latest.deb sudo dpkg -i wiringpi-latest.deb
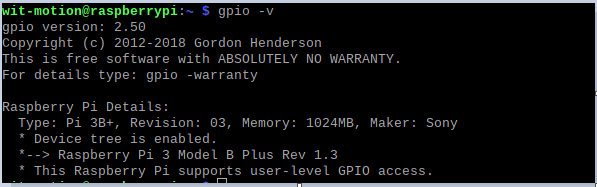
3. Check if the installation is successful
gpio -v
Operation steps of onboard serial port
View serial port mapping
ls -l /dev/ttyserial*
If the following two situations occur: Step 2 configuration is required
Case one:
Case two:
Map ttyAMA0 to serial0
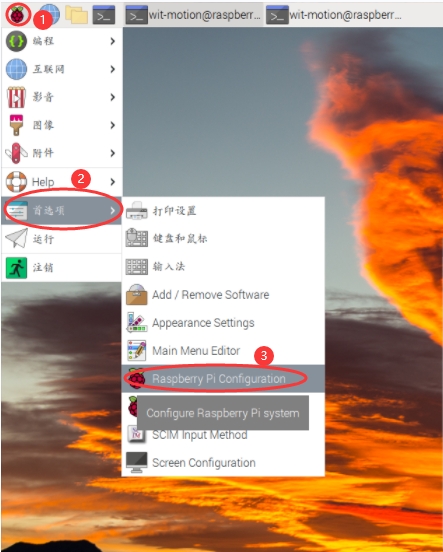
Method one:
① Click on the raspberry logo on the top left -> Preferences ->Raspberry Pi Configuration
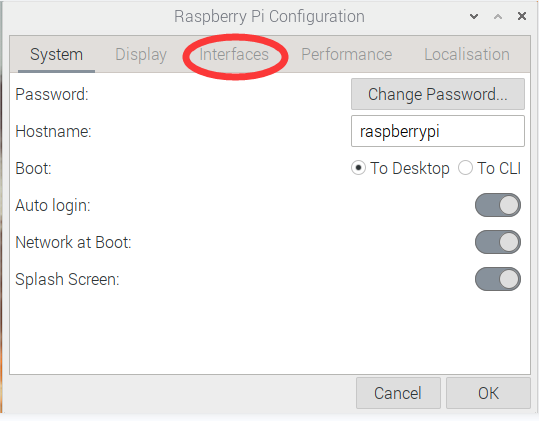
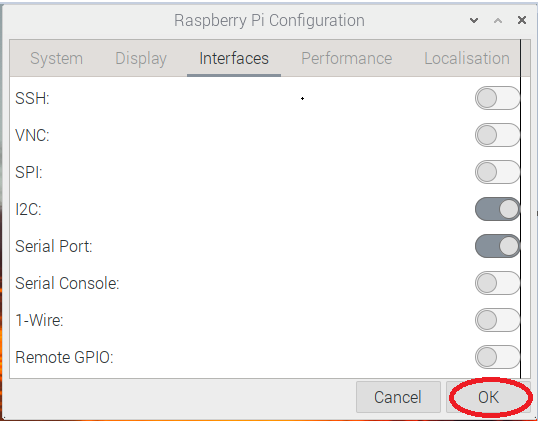
② Click Interfaces
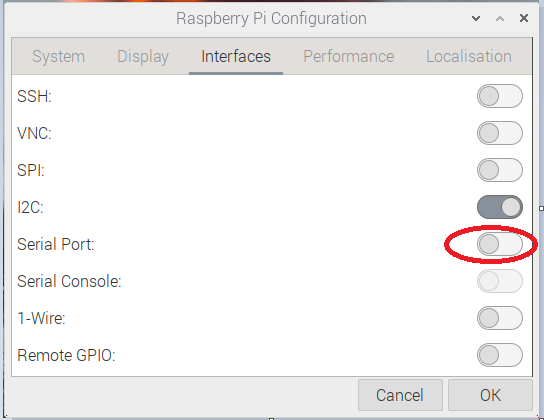
③ After checking the Serial Port option, click OK
Right now:
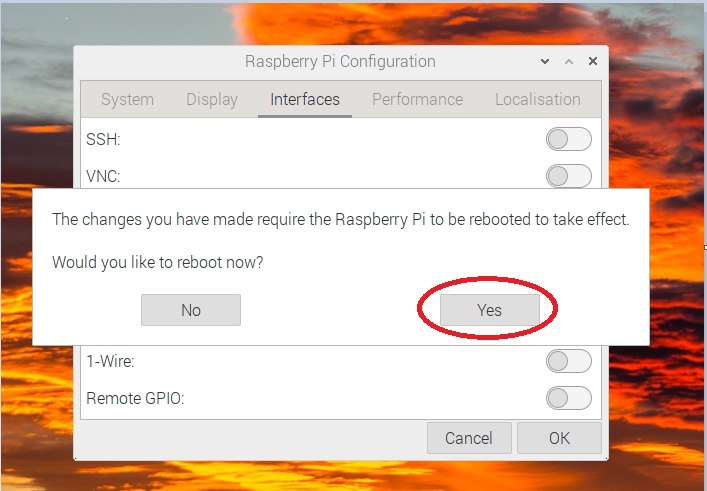
④ Click <Yes> to restart the Raspberry Pi
Method two:
① Press and hold ctrl+Alt+T to open the terminal
② Command line input:
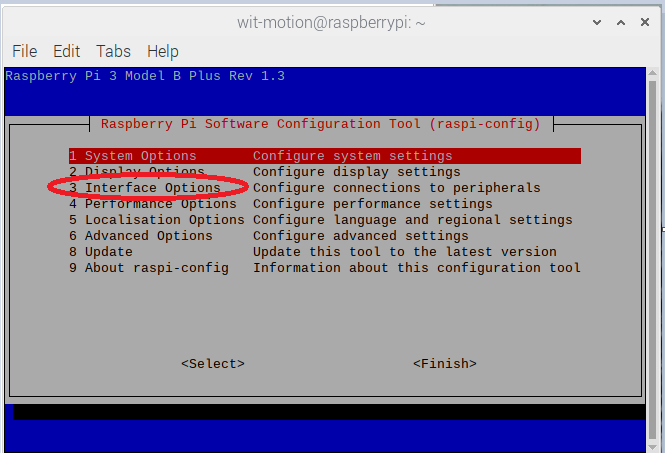
sudo raspi-config
The following interface appears, select Interface Options and press Enter:
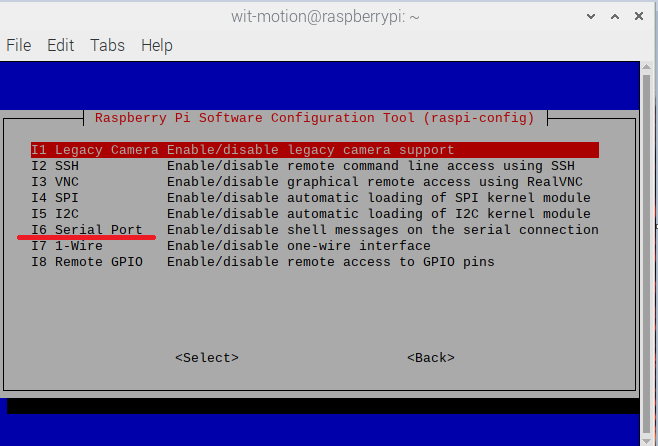
③ Select I6 Serial Port and press Enter
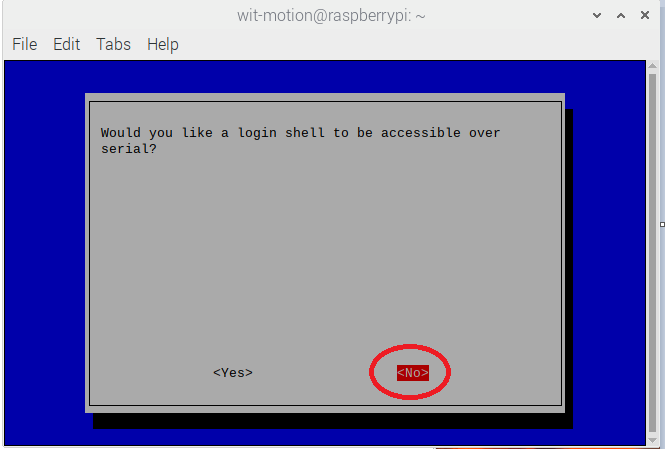
④ Choose<No>,press Enter
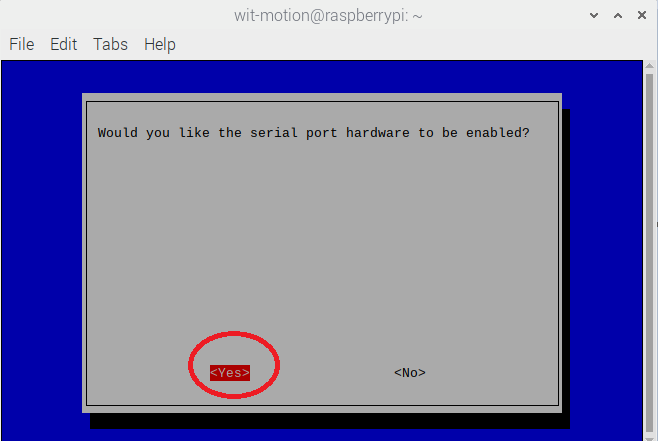
⑤Choose<Yes>,press Enter
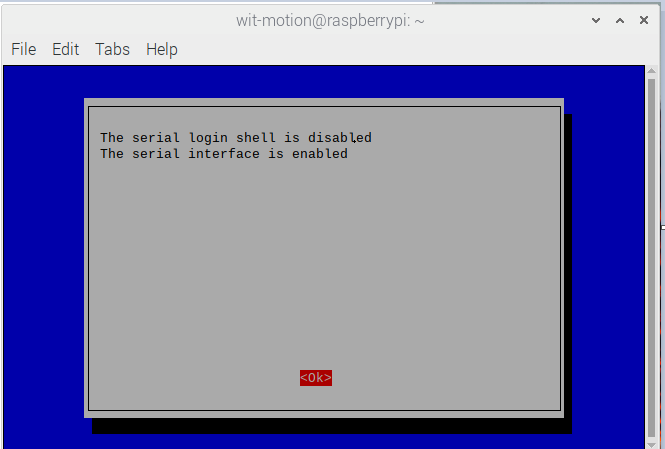
⑥ After the following interface appears, select , and then press the Esc key to exit the page
⑦ Reboot Raspberry Pi
reboot
Check whether the serial port is mapped successfully
ls -l /dev/serial*
As can be seen from the above figure, serial0 is mapped to ttyAMA0 after configuration, indicating that the configuration is successful.
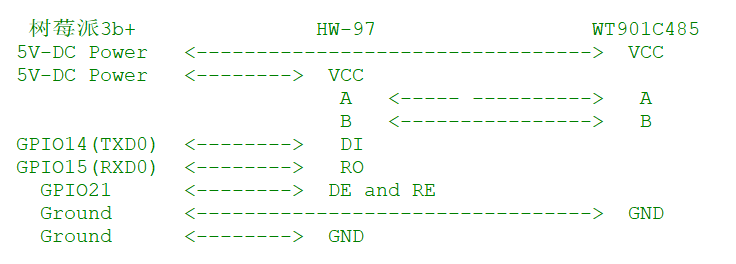
hardware connection
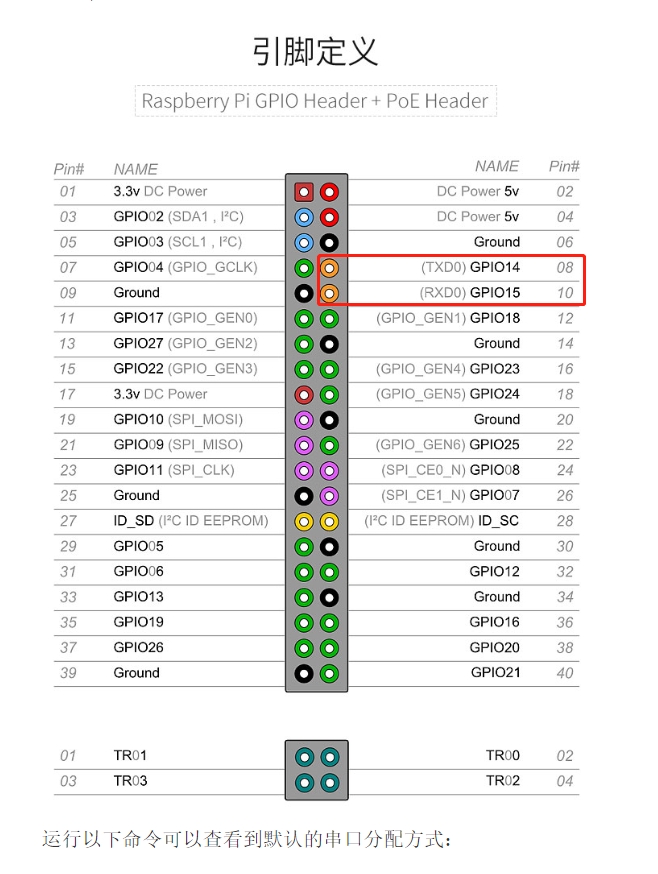
① Wiring problem (this example uses Raspberry Pi 3b+ as an example)
Find the pinout diagram of the Raspberry Pi model you are using
② Wiring
Prepare a Vitte smart sensor that supports Modbus protocol and a 485-to-TTL adapter board
Enter the specified folder to compile and run the program
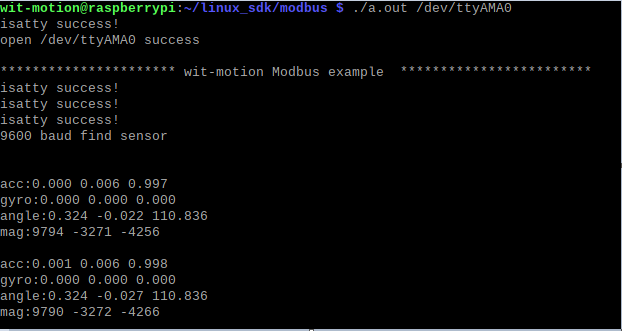
cd ~/linux_sdk cd ./modbus gcc ./*.c -lwiringPi ./a.out /dev/ttyAMA0
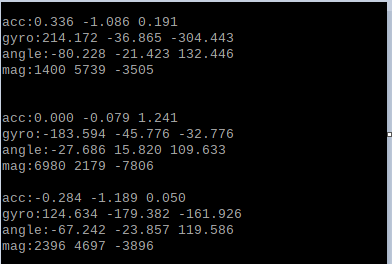
View running results
Prompt information and returned sensor parameter data appear
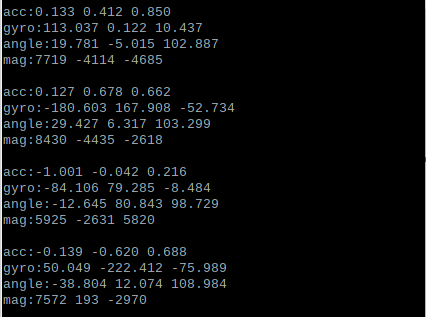
Shake the sensor, the parameters of the sensor will be sent back and displayed in real time, indicating that the debugging is successful!
Operation steps of 3-in-1 serial port
Wiring
Prepare a WitMotion sensor and 3-in-1 serial port that supports Modbus protocol
WT901C485 3-in-1
VCC <----------------------------------------> VCC
A <----------------------------------------> A
B <----------------------------------------> B
GN <----------------------------------------> GND
View the serial port file under the device file
ls -l /dev/ttyUSB*
Plug the 3-in-1 into the serial port of the Raspberry Pi, and enter the above command again:
ls -l /dev/tty USB* The extra serial port file is the serial port file we are looking for (ttyUSB0)
Enter the specified folder to compile and run the program
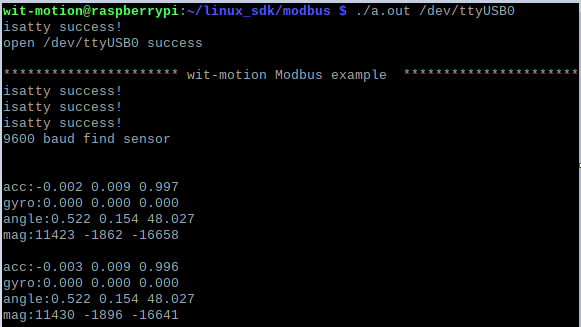
cd ~/linux_sdk cd ./modbus gcc ./*.c -lwiringPi ./a.out /dev/ttyUSB0
View running results
Prompt information and returned sensor parameter data appear
Shake the sensor, the parameters of the sensor will be sent back and displayed in real time, indicating that the debugging is successful!
More
For other operations, please refer to the sensor manual
Last updated